Digital Pointer Tool
One of the most useful tools in ATAK for situational awareness is the Digital Pointer Tool. The Digital Pointer Tool allows a member of the team to have a persistent icon actively available for all to view. This tool is best used when on the mission as quick reference. This could be a hazard, object of interest and point of reference. If you are a TAK/MIL user, this would be sensor point of interest. The Digital Pointer Tool is located in the overflow menu, unless the user altered the Action Bar, alphabetically in the tile or list set. When activated the menu for the tool will appear in the upper right corner with three submenus. The first menu will exit the tool. The second menu will activate the Digital Pointer. The last menu will send the user to the Go To Tool for DP placement.
Default DP Menu

Active Pointer

Locked Pointer

Go To Tool in DPT
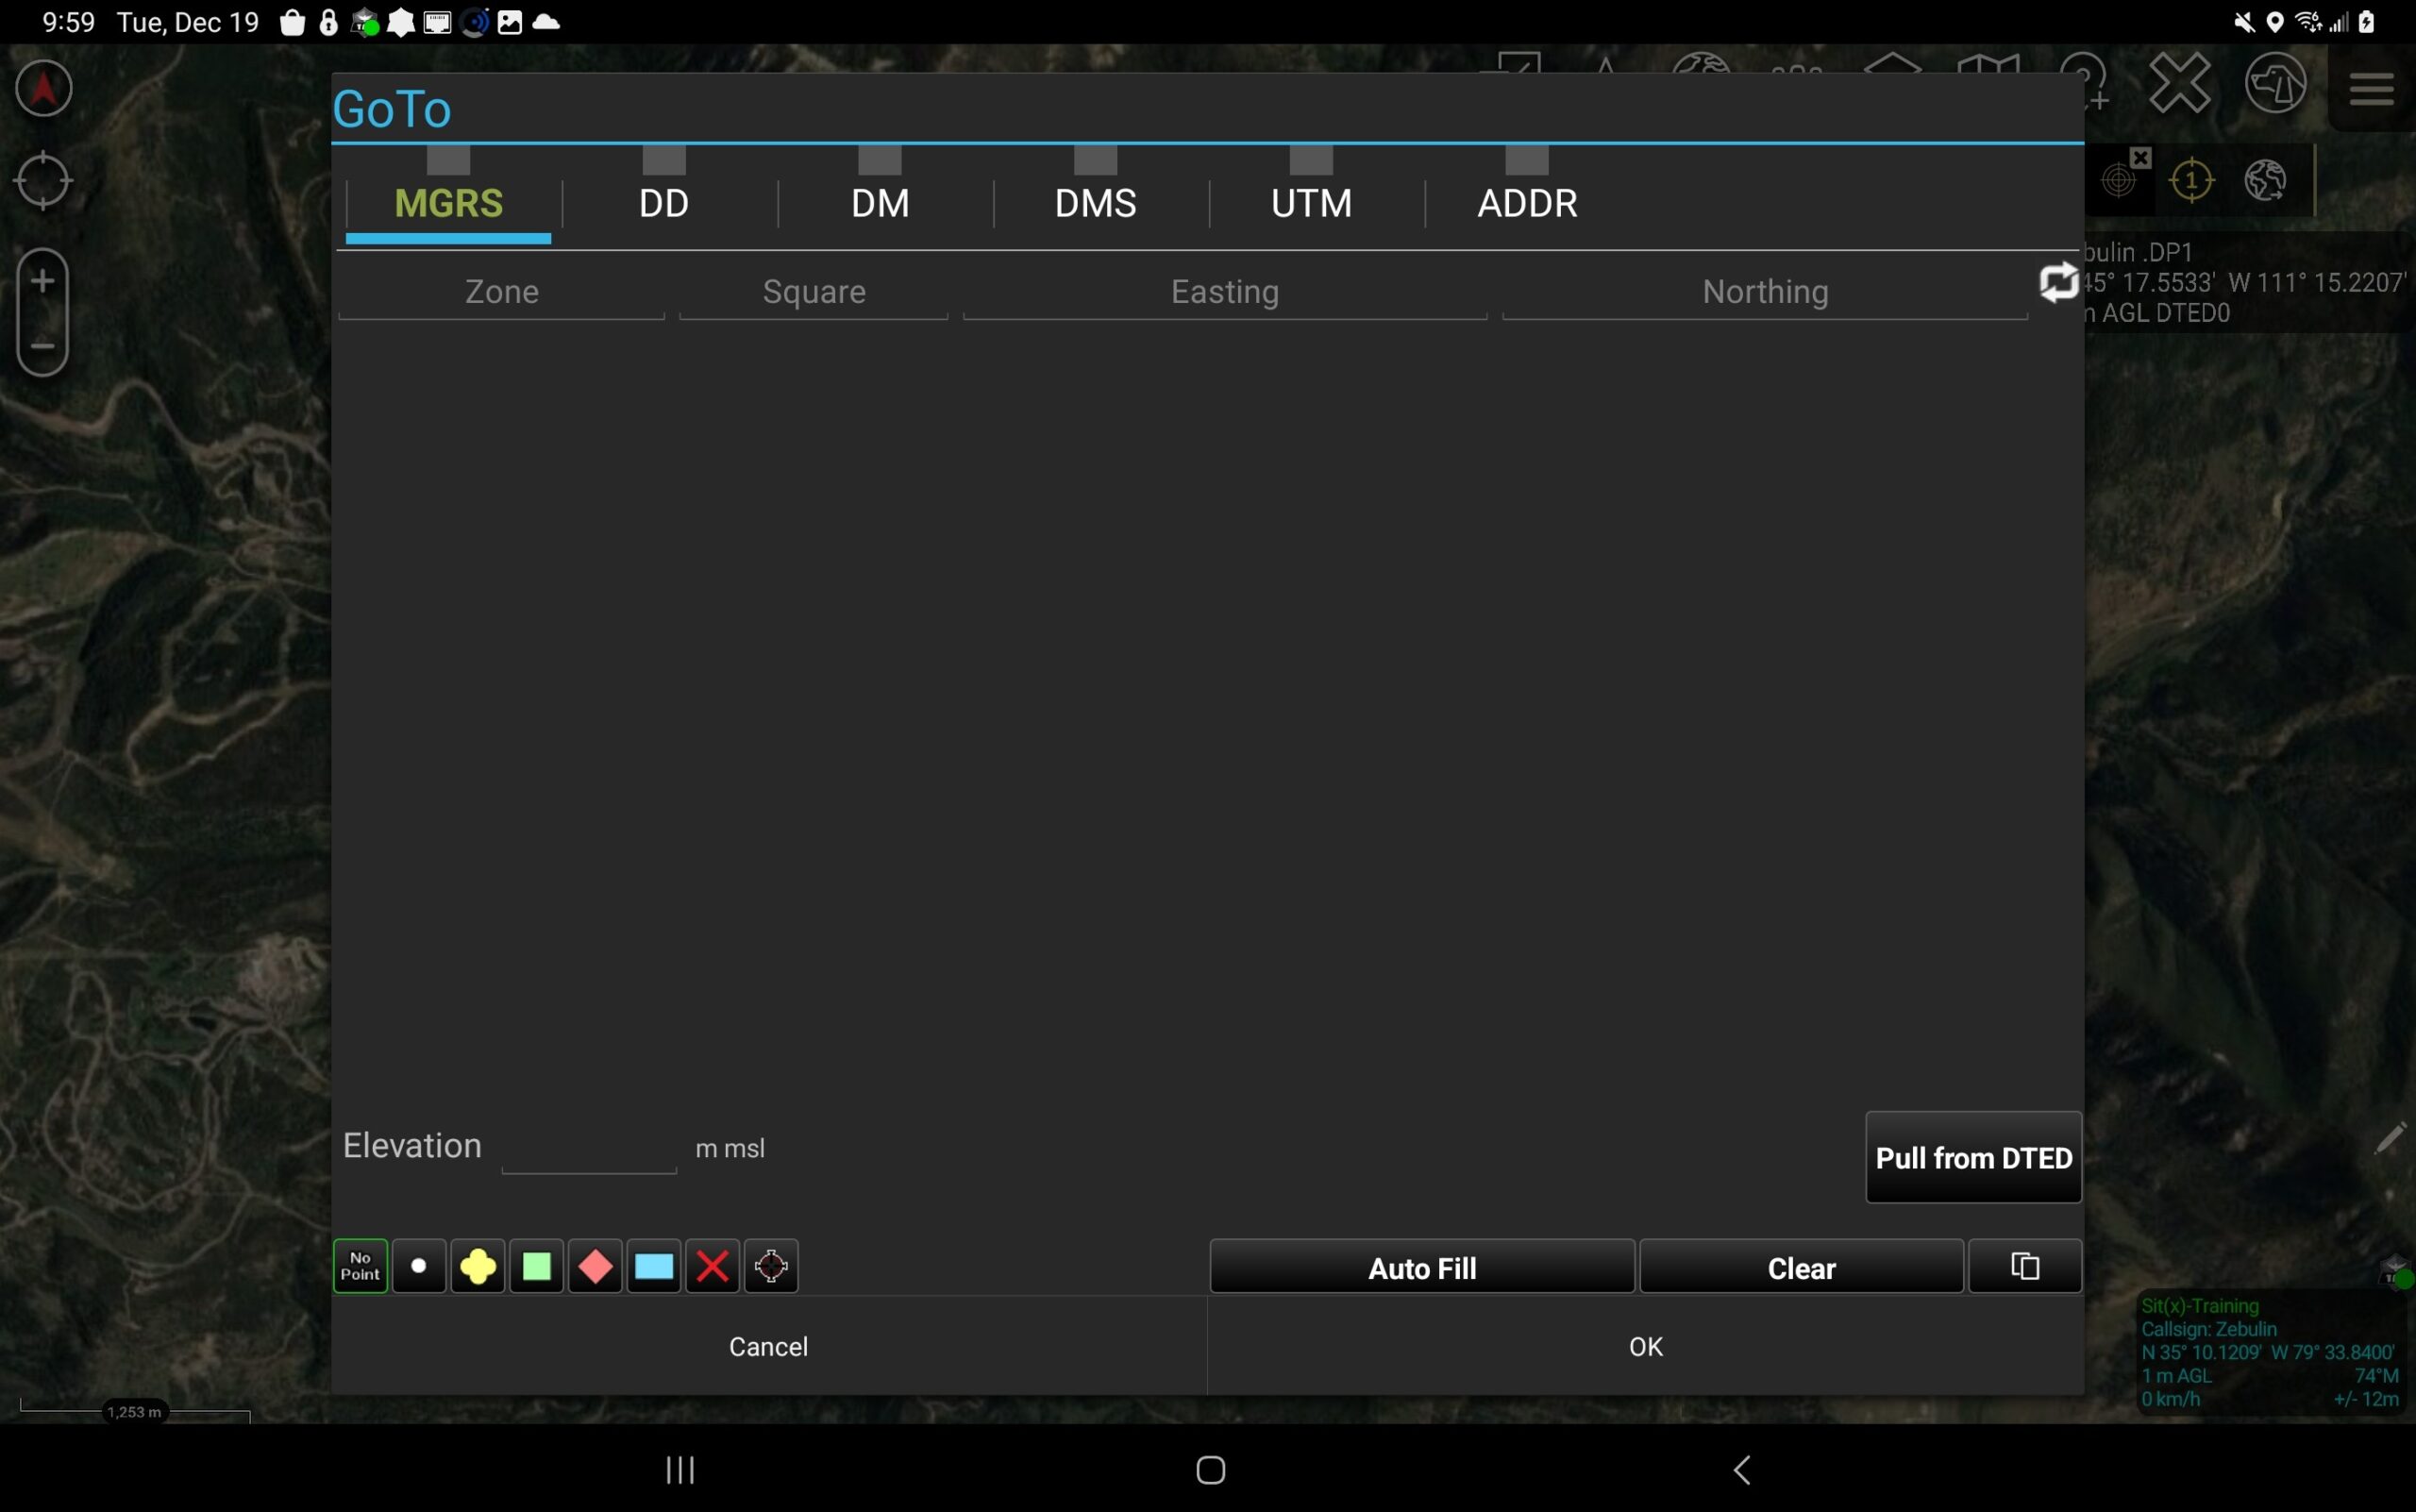
Using the Digital Pointer Tool
To use the tool, tap on the crosshair 1:

The crosshair will turn white to yellow. Now the use can tap anywhere on their map which will generate a DP Data Box in the upper right corner of their ATAK screen.
![]()
Tap on the crosshair again and it will lock the location of the DP in-place. The user can exit the Tool and the DP icon will remain. This DP icon will also remain on their ATAK teammates device as well. To stop the persistent icon, press and hold on the crosshair. This will terminate the DP from the users and teammates ATAK devices.
Digital Pointer Preferences
The ATAK user can alter how the Digital Pointer Tool acts in the Digital Pointer Preferences which is located in: Overflow Menu>Settings>Tool Preferences>Specific Tool Preferences>Digital Pointer Toolbar Preferences.
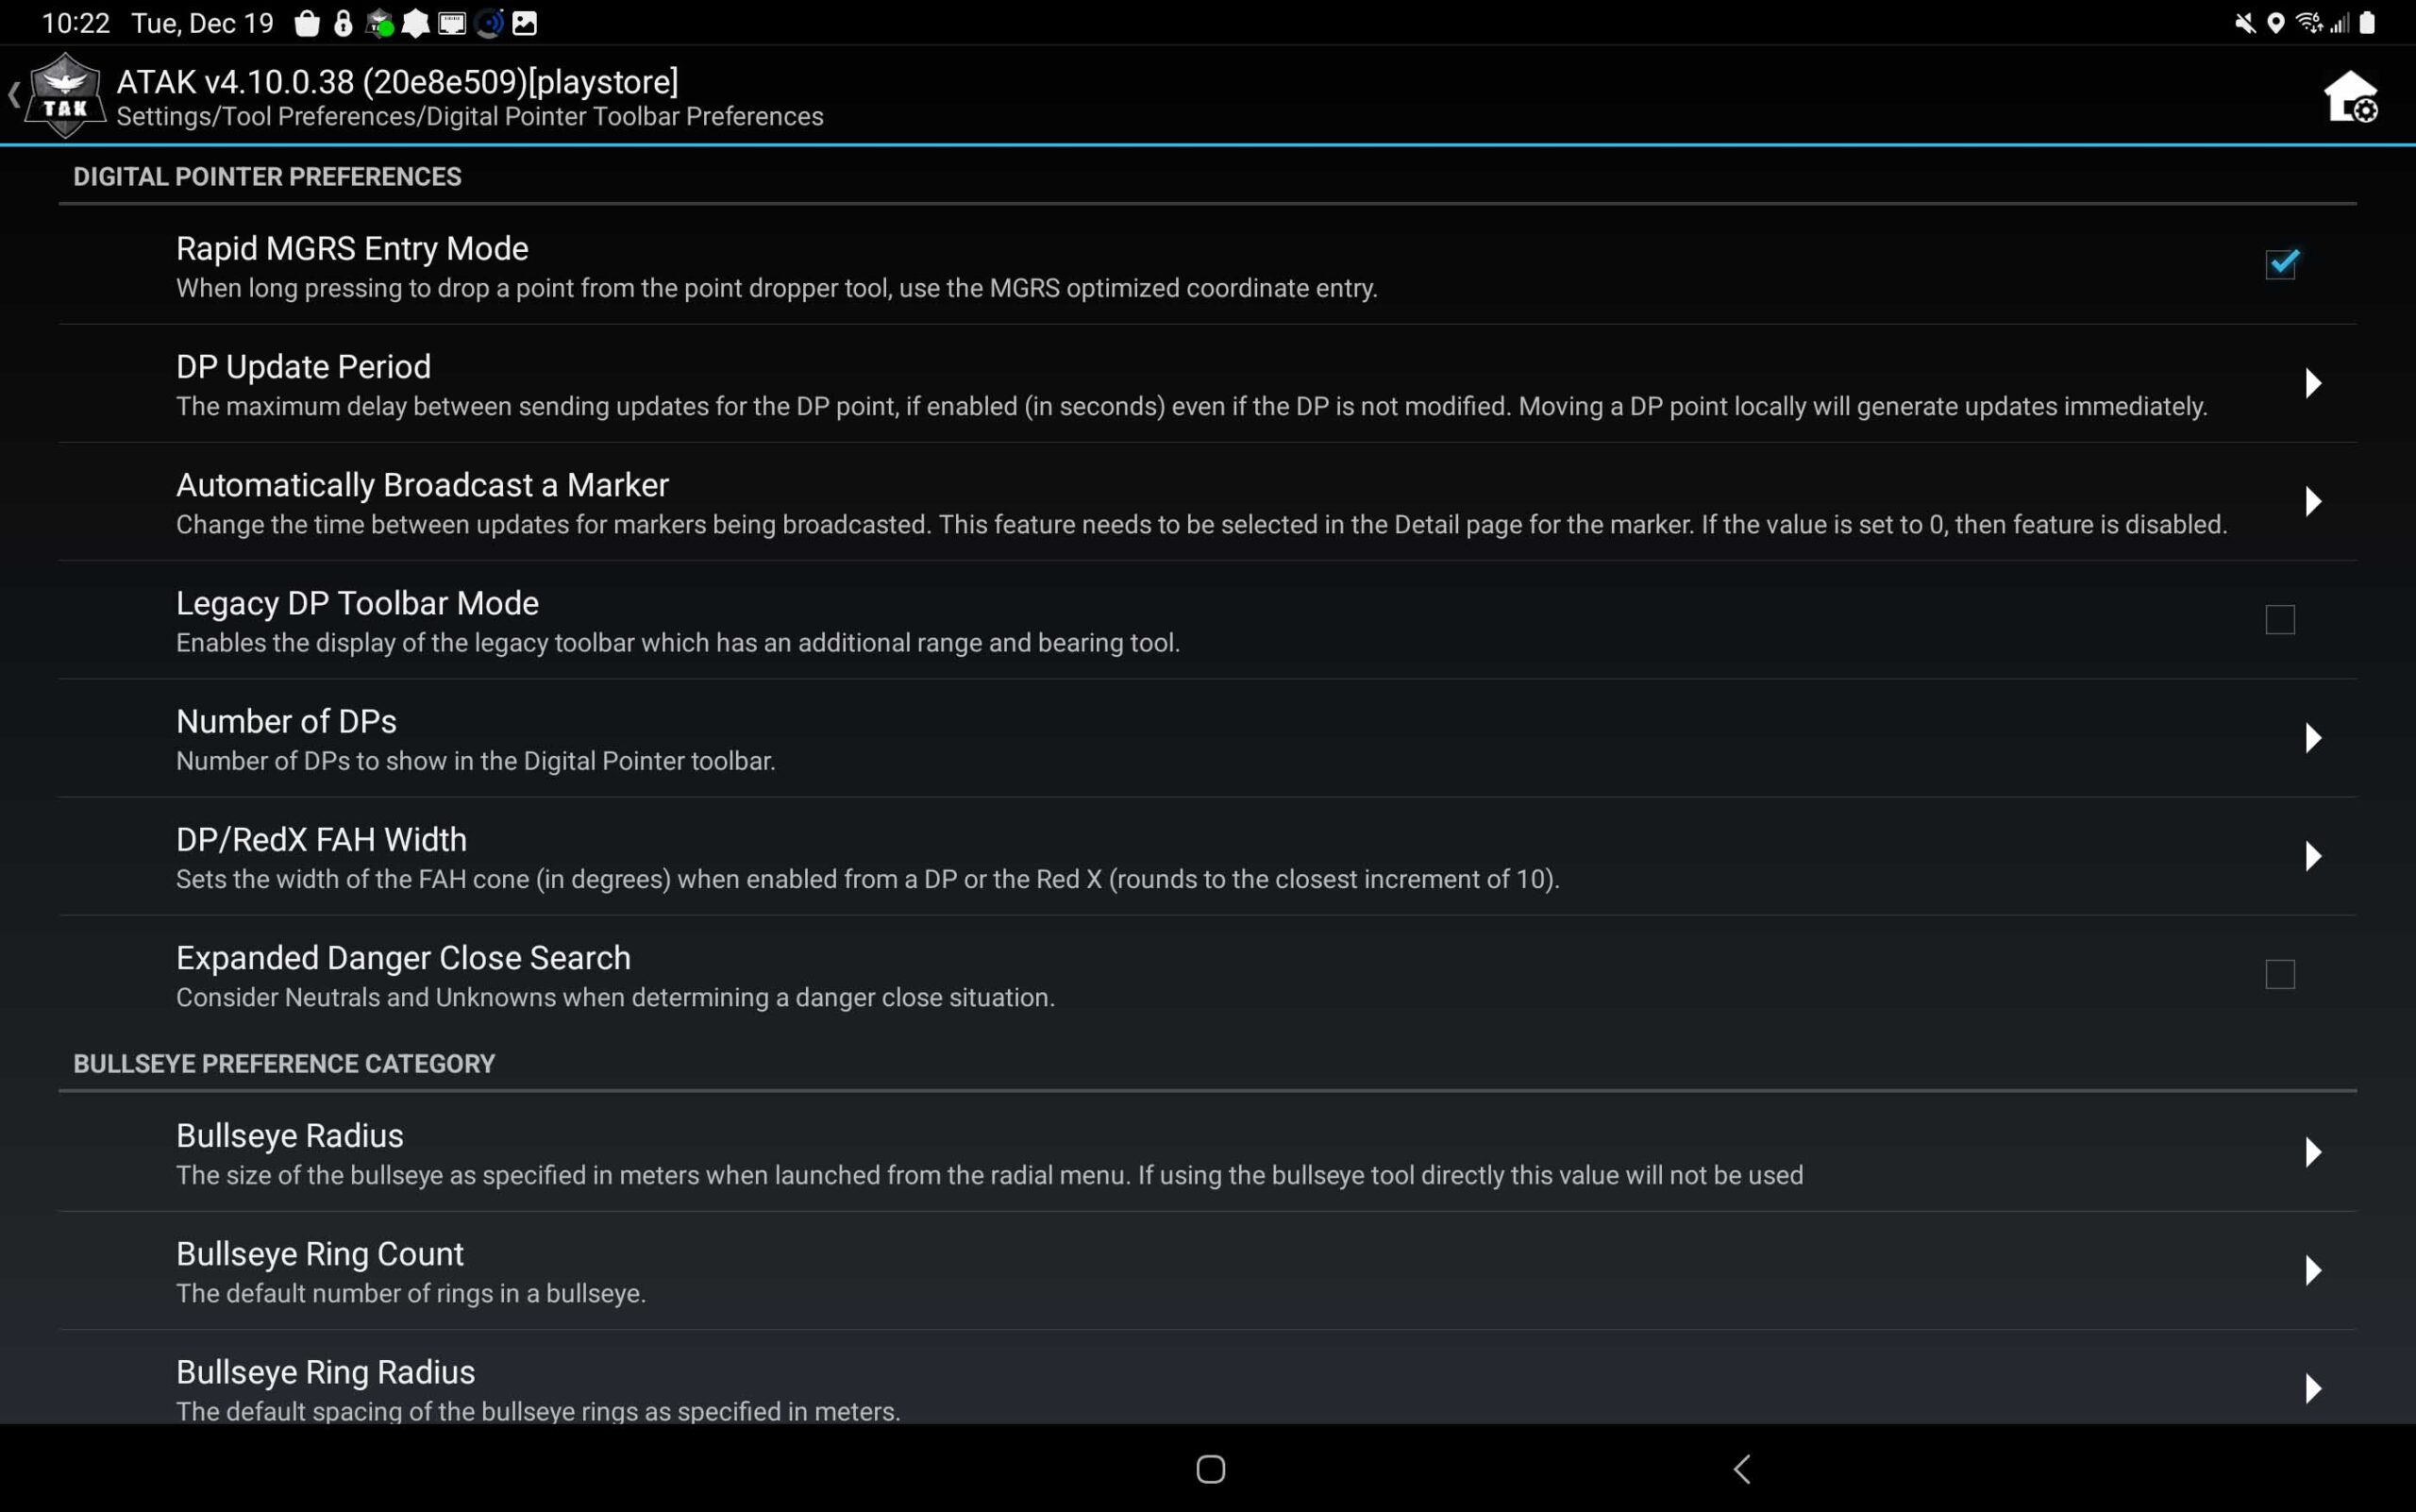
These settings have 7 sub-menus that will let the ATAK user adjust the Digital Pointer Tool. One of the more useful features is the ability to have up to 3 Digital Pointer Icons. This will let the user place multiple markers down that will stay persistent .
Tough Stump University – ATAK Training
A thorough overview of ATAK is available vis Tough Stump University’s TAK U Basic course. More advanced lessons are coming so stay tuned. We also offer in-person training where we tailor each course of instruction to meet our customers mission. Visit us at toughstump.com for more information.
Comments +